How to Build a Breakfast Nook
To build a breakfast nook, measure the corner, plan the table and seating, then build and secure a bench with enough room to sit and move around it. Check clearances before cutting wood, and anchor the bench to a suitable wall or floor structure.
On this page (9 sections)
- How do you plan a breakfast nook?
- How do you choose the table and seating?
- How do you size a breakfast nook bench?
- What materials and tools should you gather?
- How do you build and secure the bench?
- How much clearance should you leave around the table?
- How do you finish and maintain a breakfast nook?
- Should you build a nook or use a dining set?
- What is the simplest way to build a breakfast nook?
To build a breakfast nook, plan the corner, size the table and seating, then build and secure a bench with enough room to sit and move around it. Measure everything before cutting, and test the layout with tape on the floor.
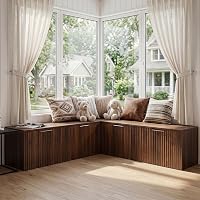
A nook can be a built-in bench with a table, or simply a compact dining set arranged in a corner. For a quick overview of the space and seating, see what is a breakfast nook.
How do you plan a breakfast nook?
Start with the room measurements and the way you want people to sit. Note the wall lengths, windows, trim, outlets, door swings, and paths people use to cross the room.
Mark the planned bench and table footprint on the floor with painter’s tape. Include space to slide in and out, pull out any chairs, and reach nearby cabinets.
A corner bench works well when you want seats along two walls. A straight bench is simpler to build and can fit along one wall, while a freestanding table and chairs are easier to rearrange.
Think about whether the nook is mainly for breakfast or also for homework and other daily tasks. A table with room for plates and a book may be more useful than one sized only for a narrow corner.
What plans do you need for a breakfast nook?
Make a simple drawing with dimensions before choosing materials. Show the bench length on each wall, bench depth, seat height, table footprint, and the clear path around the seating.
There is no single breakfast nook plan that fits every room. Check the dimensions against your taped layout, then confirm that the table can sit at a comfortable distance from the bench.
If you want a farmhouse look, compare the table style and construction steps in how to build a farmhouse dining table. Keep the bench and table measurements coordinated so one does not crowd the other.
How do you choose the table and seating?
Choose the table shape and seating together. A rectangular table often suits a straight bench, while a square table can work in a compact corner; both need clearance for people to sit.
A built-in bench can make a corner useful, but it fixes the seating in place. A set with movable seating gives you more flexibility if the room layout changes.
The Feonase set has a table that extends to 63 in, with 2 benches and 2 square stools. Its benches and stools slide under the table when not in use, which can help keep the floor clear in a small space.
The IRONCK table measures 43.3 x 27.6 in, and its chairs fit under the table for storage. That arrangement may suit a smaller dining area where a built-in seat would be hard to move around.
The Hooseng set includes a rectangular table and 4 chairs. Choose a freestanding set if you want the option to shift the table or seating as your needs change.
For broader dining-room planning, see dining room ideas modern. If you are comparing small dining furniture, [What Is a Dinette Set?
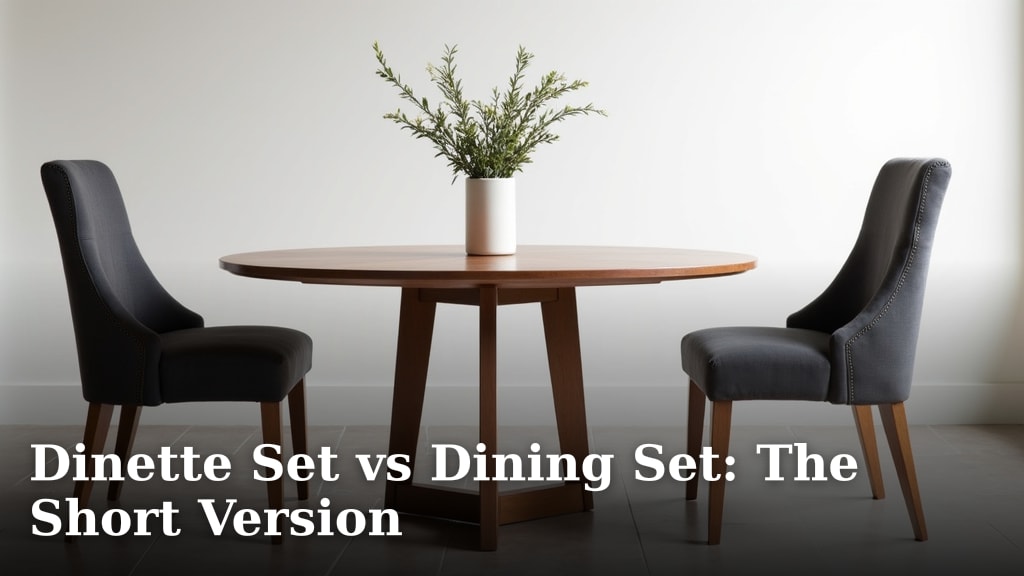
A Practical Guide](/what-is-a-dinette-set/) and Dinette Set vs Dining Set: The Short Version explain the common terms.
How do you size a breakfast nook bench?
Base the bench size on the people who will use it and the room you measured. Set the bench depth and height to make sitting and standing feel natural, then confirm the table leaves useful legroom.
There is no universal bench dimension that suits every person or table. If possible, mock up the seat with a sturdy box or temporary platform and test it with the intended table before building.
For an L-shaped bench, measure both wall runs separately and account for the corner so the seat surfaces meet cleanly. Check the table placement from both sides; people seated inside the corner need room to get in and out.
Avoid making the bench so deep that it pushes the table into a walkway. Also check that a window sill, radiator, or outlet will not be blocked by the back or seat.
What materials and tools should you gather?
Choose materials and fasteners for the bench design and the surfaces you are attaching it to. A basic wood bench may use framing lumber for its support, sheet material or boards for the seat, screws, and a finish suitable for indoor use.
Your plan determines the amount and type of lumber. Inspect boards for splits or major warping, and cut pieces to the measured plan rather than assuming walls or floors are square.
Common tools include a tape measure, pencil, level, saw, drill, and suitable bits. Use eye and hearing protection when cutting or drilling, and follow the tool makers’ instructions.
If you plan to attach the bench to a wall, identify the wall construction and framing first. Use fasteners rated for the material and the expected load; drywall anchors alone may not be suitable for a built-in seat.
How do you build and secure the bench?
Build the support frame square and level, attach the seat securely, then fasten the bench to a sound structure if the design calls for it. Recheck the fit in the room before adding a finish.
- Measure and mark the pieces from your plan.
- Cut the frame parts, then assemble the base on a level surface.
- Check the frame for square and stability before attaching the seat.
- Place the bench in the nook and confirm the table and clearances.
- Locate wall framing or another suitable anchor point, then secure the bench with appropriate hardware.
- Smooth rough edges and apply an indoor finish according to its instructions.
For an L-shaped bench, dry-fit both sections before fastening them together. Check the corner joint and the seat surface for gaps or height differences that could affect comfort.
Do not sit on a frame that rocks, has loose fasteners, or is not securely assembled. If you cannot verify a safe anchor point or the wall needs modification, ask a qualified carpenter to review the plan.
How much clearance should you leave around the table?
Leave enough room for people to sit down, pull out chairs, and walk past the nook. The right amount depends on the table, seating, and nearby doors or cabinets.
Use the actual chairs or stools when checking the layout. Pull each one out as someone would during a meal, and see whether another person can still pass without turning sideways.
Check table height and bench height together so knees fit beneath the tabletop. Also check that the table edge is reachable from the bench without forcing people to lean across the whole seat.
A compact set can be useful when you need movable furniture. For example, the Feonase set has an extendable table and seating that stores beneath it, while the IRONCK set’s chairs tuck under its table.
How do you finish and maintain a breakfast nook?
Smooth the bench edges and apply a finish made for indoor furniture use. Let the finish dry as directed before using the seat or placing food on the table.
Keep the table and bench surfaces easy to wipe. For a built-in seat, make sure crumbs can be removed from the wall edge and corners without damaging the finish.
If the bench has storage, leave enough room to open it fully and keep hinges or lids clear of the table. Avoid storing heavy items in a way that makes the seat difficult to lift.
Should you build a nook or use a dining set?
Build a fixed nook when the corner will keep the same layout, and choose a dining set when flexibility matters more. A bench makes use of the wall space, while movable chairs and tables are simpler to shift or replace.
A breakfast nook is a seating area, while a dining room is a room or dedicated area for meals. Compare breakfast nook vs dining room if you are deciding how to use a shared space.
Choose a built-in bench if you have measured carefully and want seating fitted to the corner. Choose a freestanding set if you may need to clear the area, change the layout, or avoid carpentry.
What is the simplest way to build a breakfast nook?
The simplest plan is to measure the corner, tape out the furniture, and decide whether you need a fixed bench. Build and anchor a bench only after checking the table fit, seating access, and wall structure.
Pick a built-in bench for a stable corner layout, or a compact dining set for movable seating. If you want a quick comparison of nook use and dining-room use, read breakfast nook vs dining room.
Frequently asked questions
How much space do you need for a breakfast nook?
Measure the table, bench, and any chairs, then add room to sit down and walk past the seating. Leave enough space to pull chairs away from the table and open nearby doors or drawers.
The exact clearance depends on your room and how people use the nook.
What is the best shape for a breakfast nook bench?
An L-shaped bench makes use of a corner and can seat people along two walls, while a straight bench fits a single wall. Choose based on the room layout, table shape, and how easily you need to reach the seats.
A freestanding bench is easier to move.
Should a breakfast nook bench be attached to the wall?
A built-in bench should be secured to suitable wall framing or another sound structure so it cannot shift when people sit or lean on it. Find the framing before fastening, use hardware suited to the wall and bench, and get help if you cannot confirm a safe anchor point.
Can you build a breakfast nook without woodworking?
Yes. You can place a small table and freestanding bench or chairs in a corner without building fixed seating.
Measure the area first, and choose pieces that leave room for movement.
A dining set with compact seating can make the nook easier to rearrange later.